Flush DNS
Most operating systems and DNS clients will automatically cache IP Addresses and other DNS results, this is done in order to speed up subsequent requests to the same hostname. Sometimes bad results will be cached and therefore need to be cleared from the cache in order for you to communicate with the host correctly. All major operating systems allow you to force this process, outlined below are the common steps you will need to follow in order to flush your DNS cache.
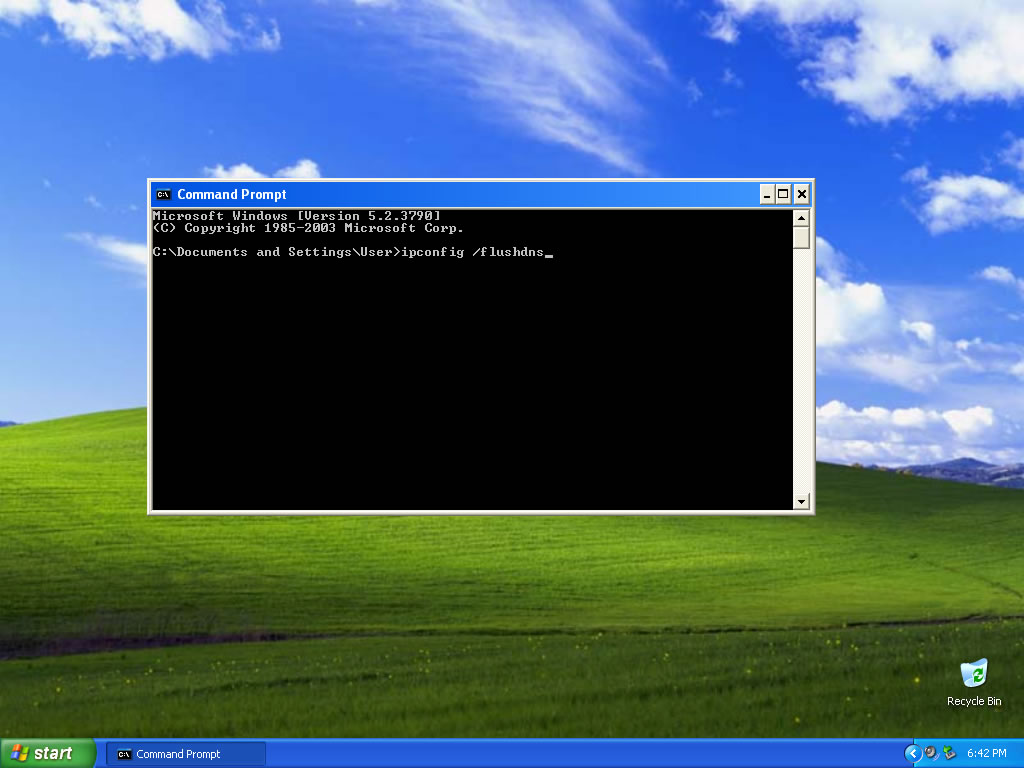
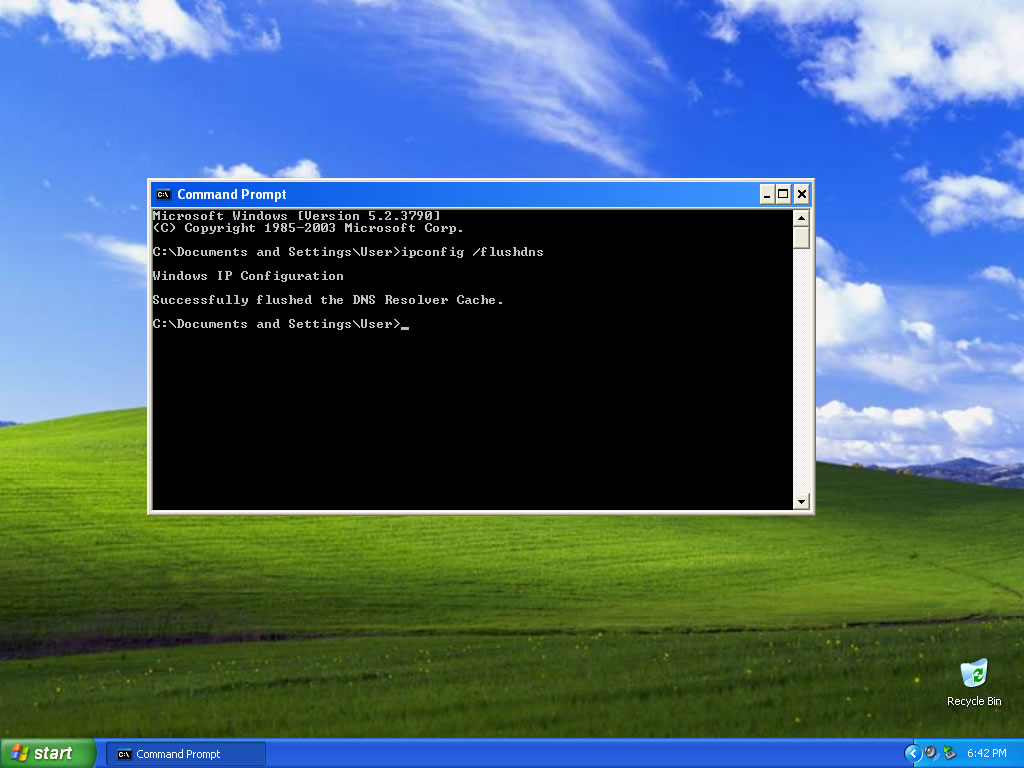
Windows 98/NT/2000/XP Flush DNS
Flushing the DNS on Windows is an easy process, outlined below is the steps that should be run if you wish to clear your DNS cache.
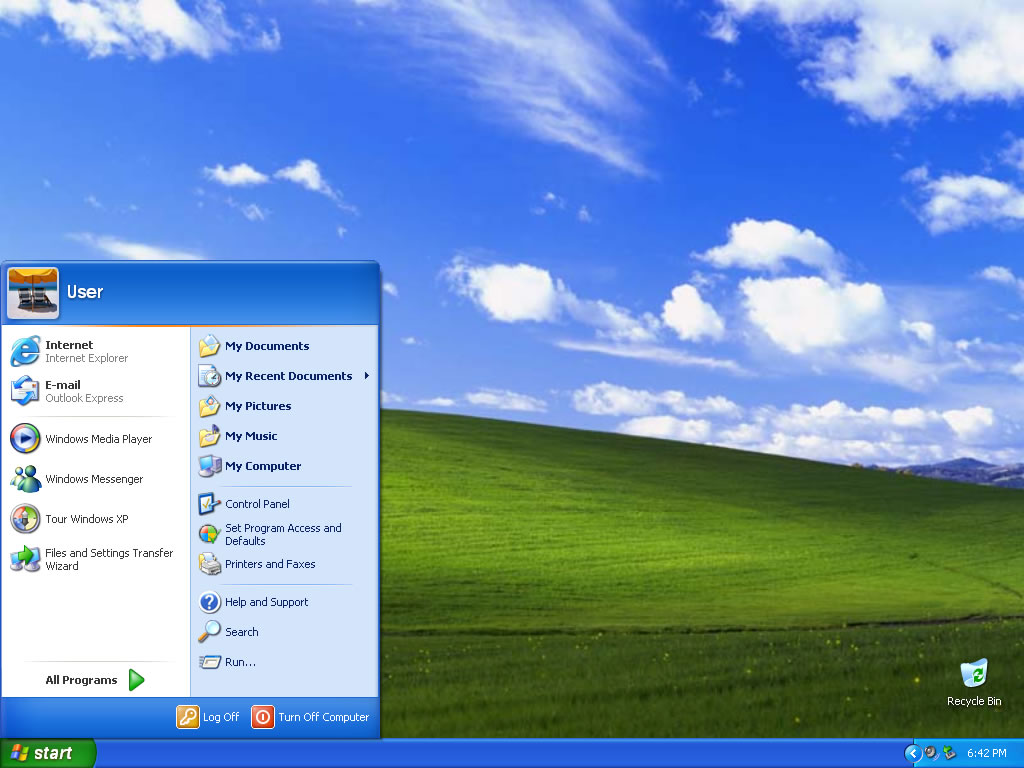
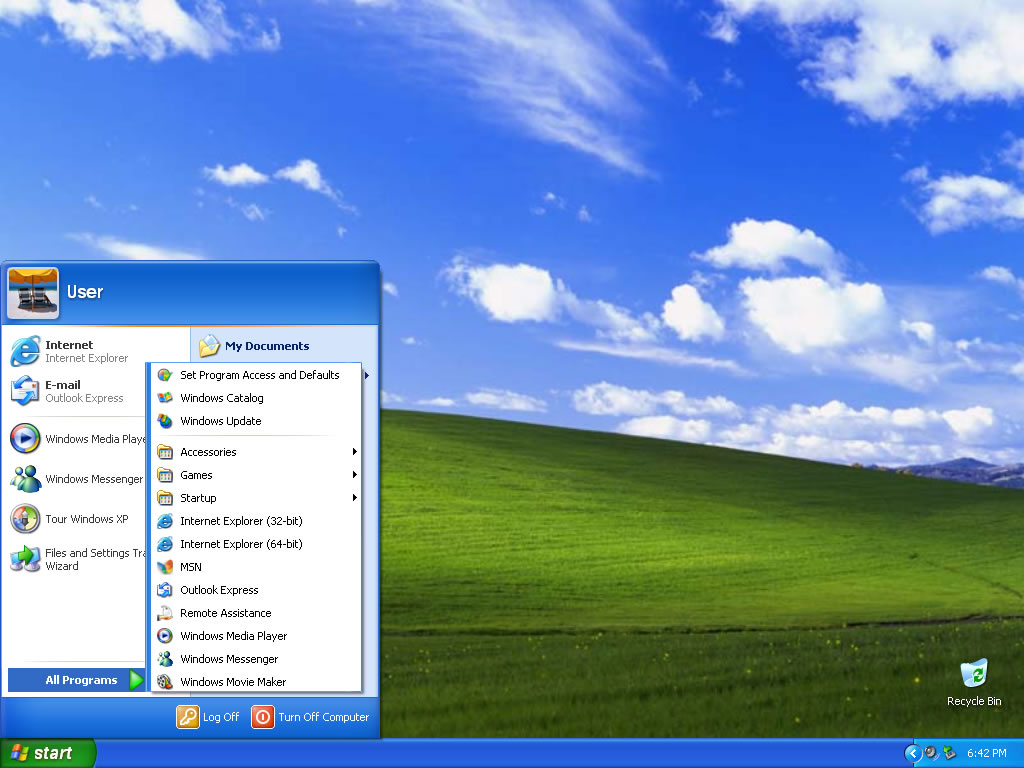
- Open up a command prompt (Start > Run >
cmd.exe> OK). - Type in the command
ipconfig /flushdns


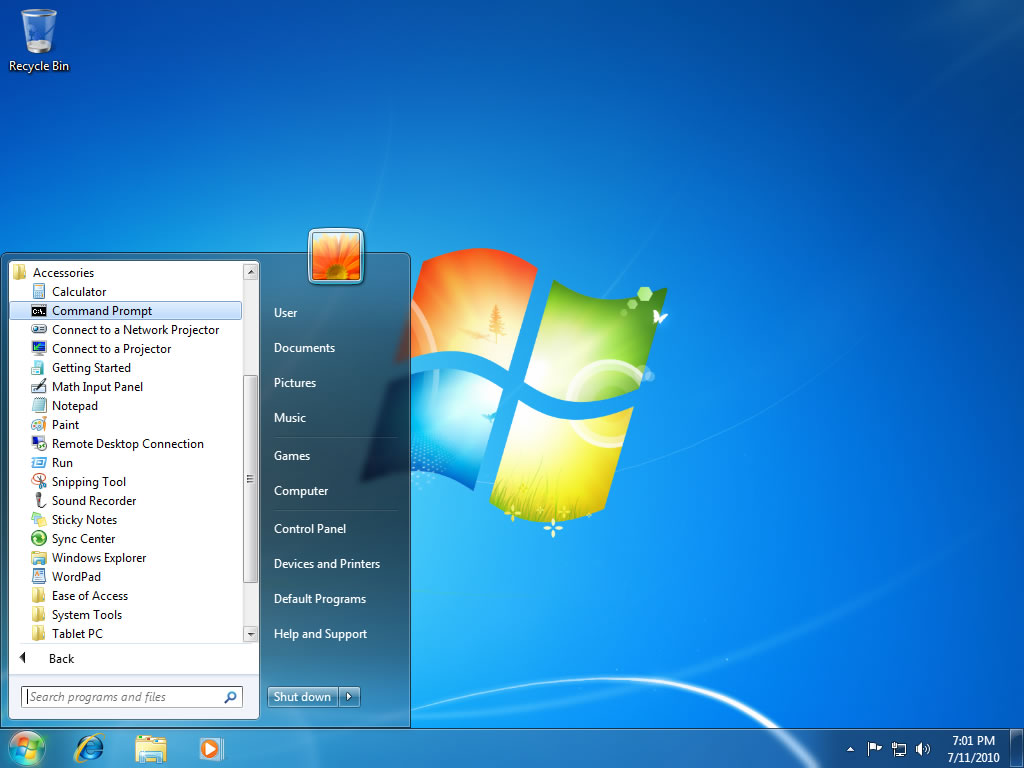
Windows Vista / Windows 7 Flush DNS
Flushing DNS on newer versions of Windows is almost as easy as the earlier versions but due to Microsoft's security additions you must run the command prompt with administrator privileges.
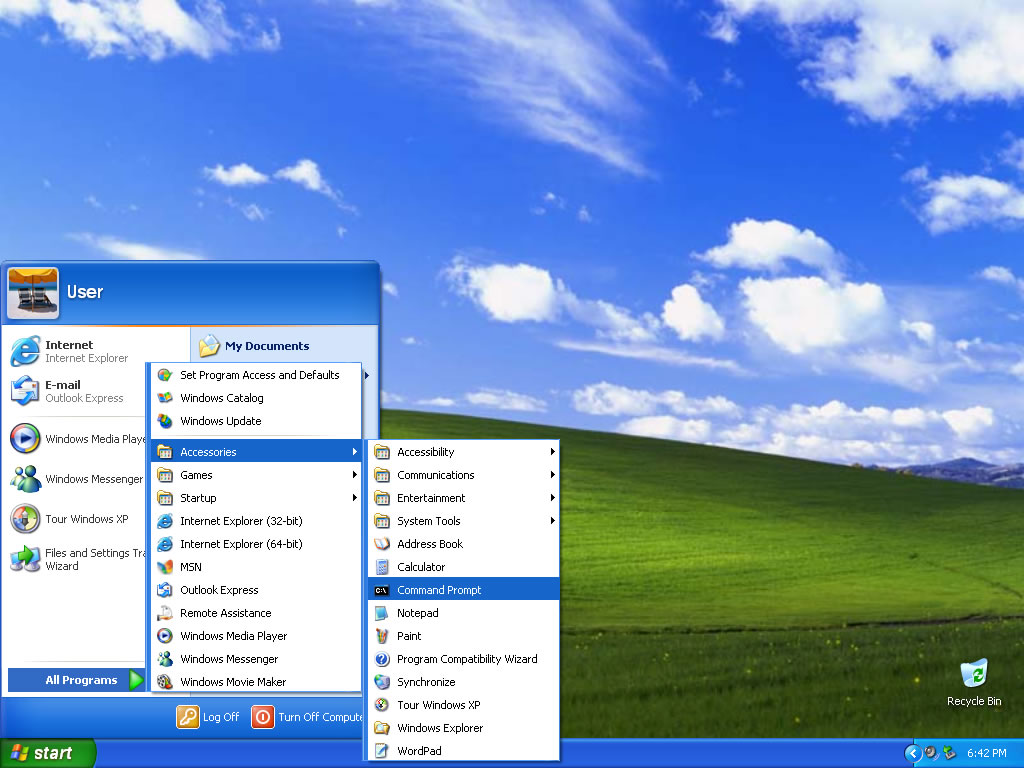
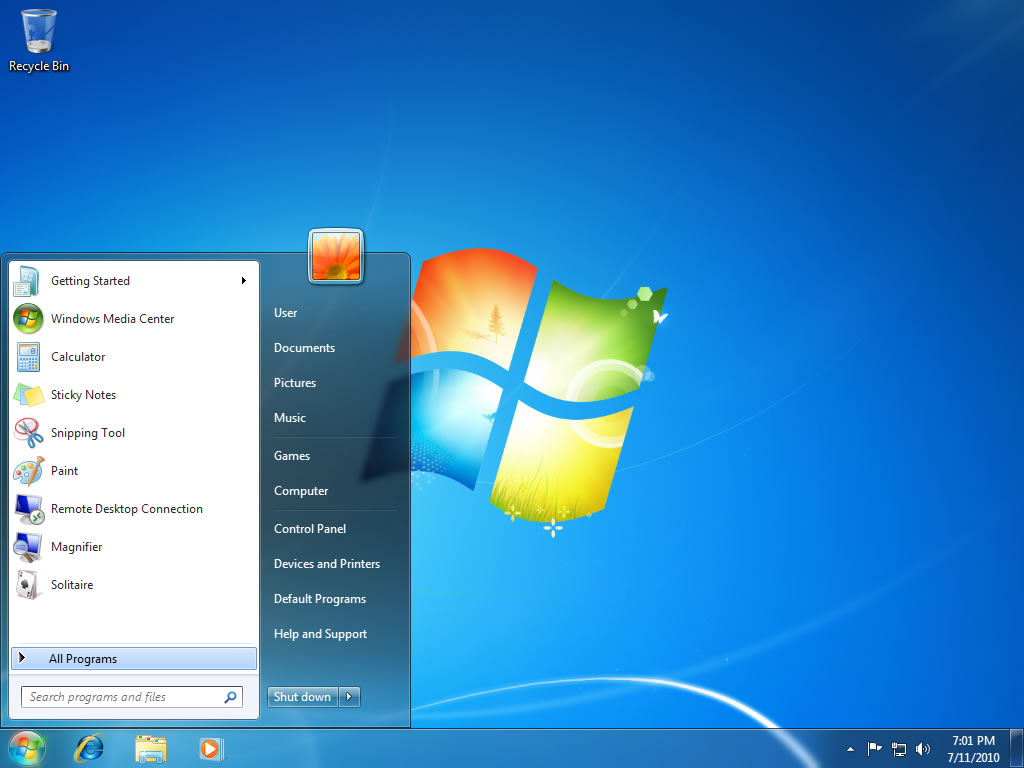
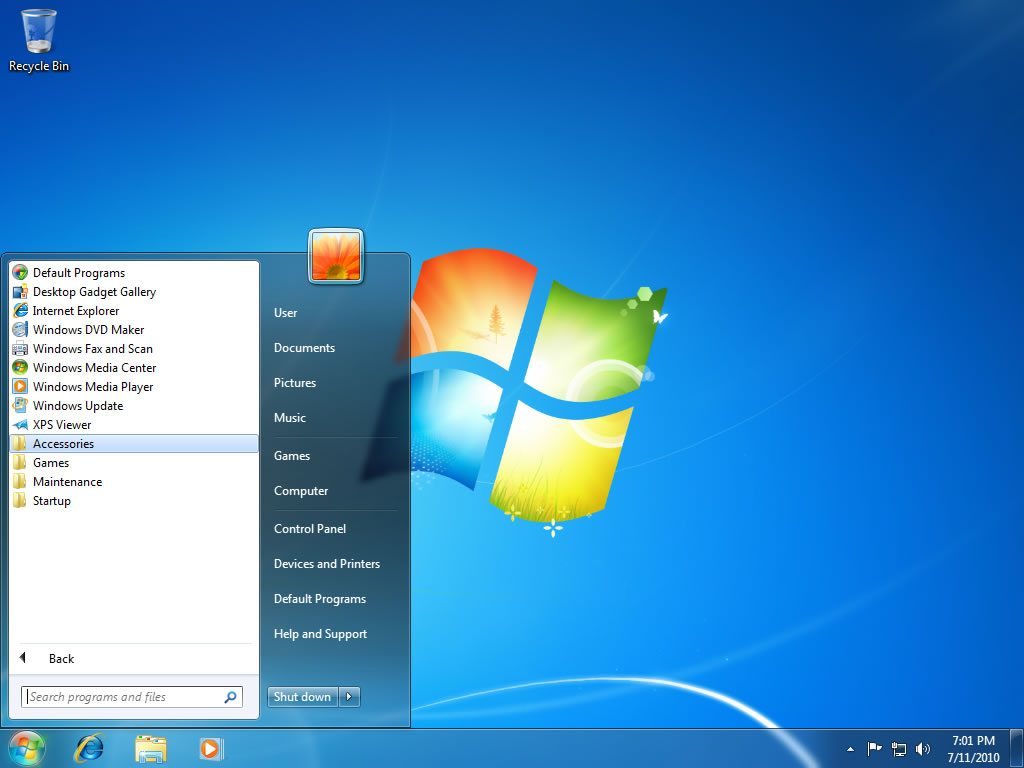
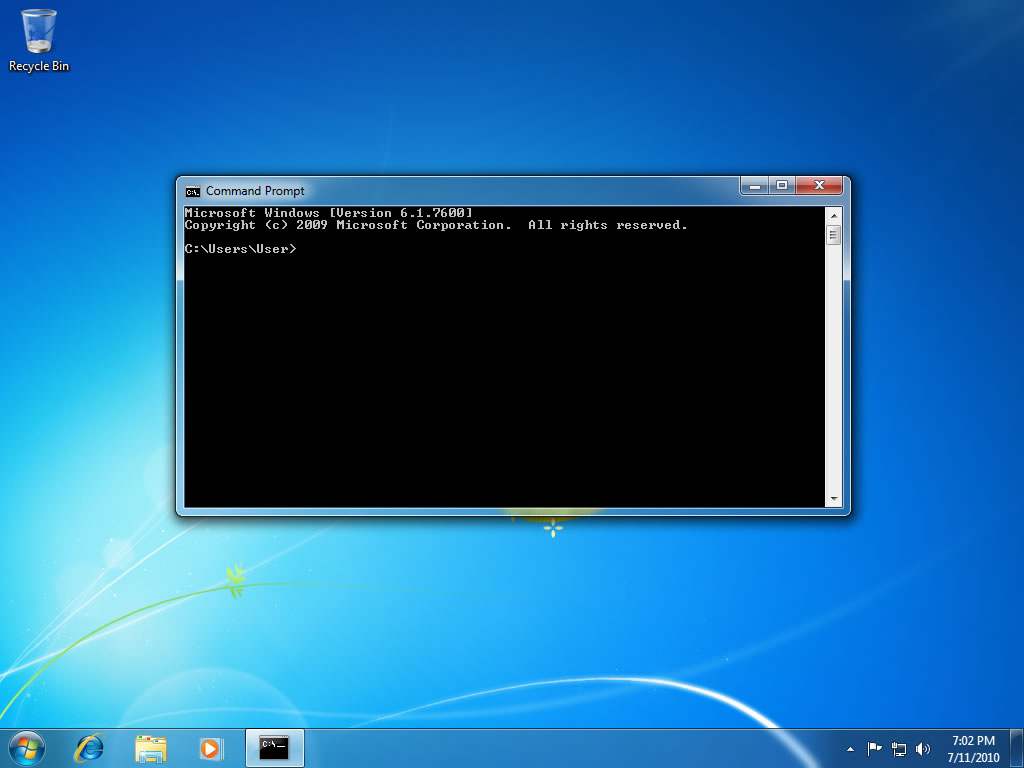
- Click the start button and navigate to the command prompt (Start > All Programs > Accessories > Command Prompt)
- Make sure that you right click on the command prompt application and choose "Run as Administrator"
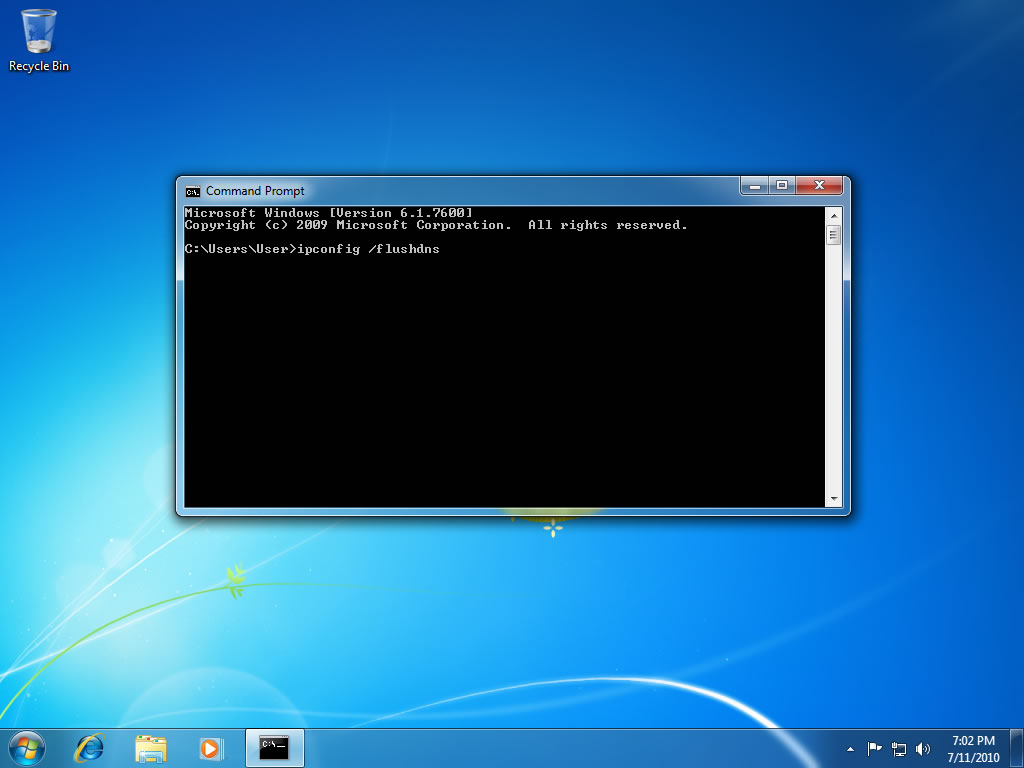
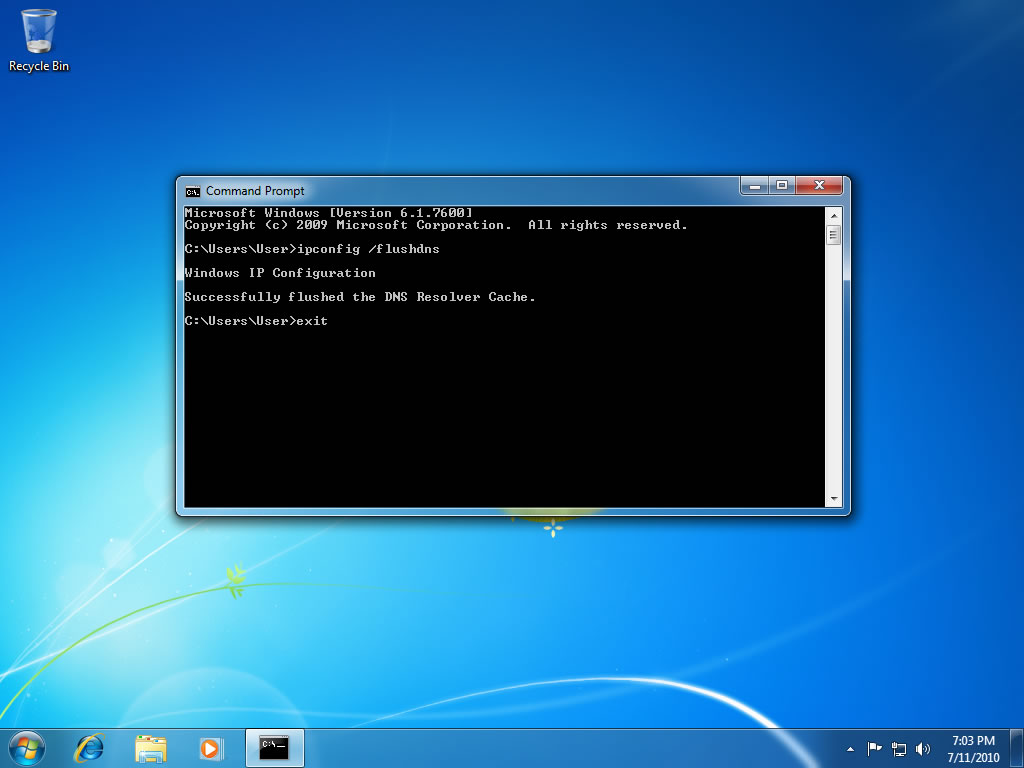
- Type in the command
ipconfig /flushdns

Note: It is also possible to type in cmd into the Windows Vista / Windows
7 start menu search field and then right click on the cmd.exe result instead of
having to navigate through the various sub menus.
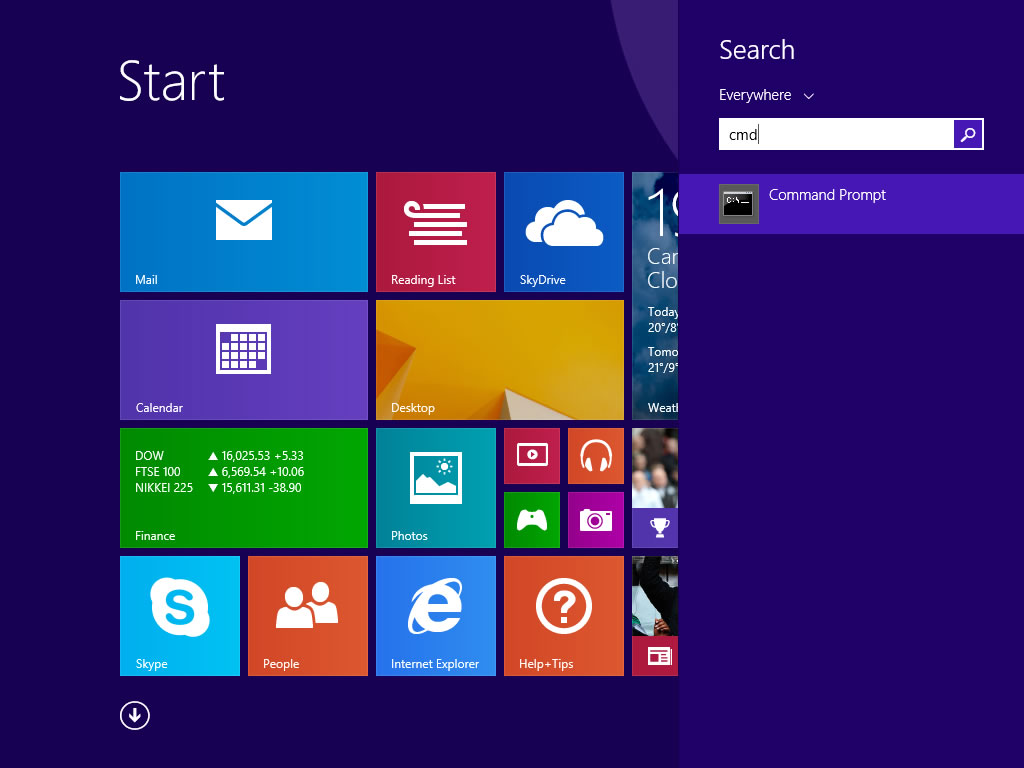
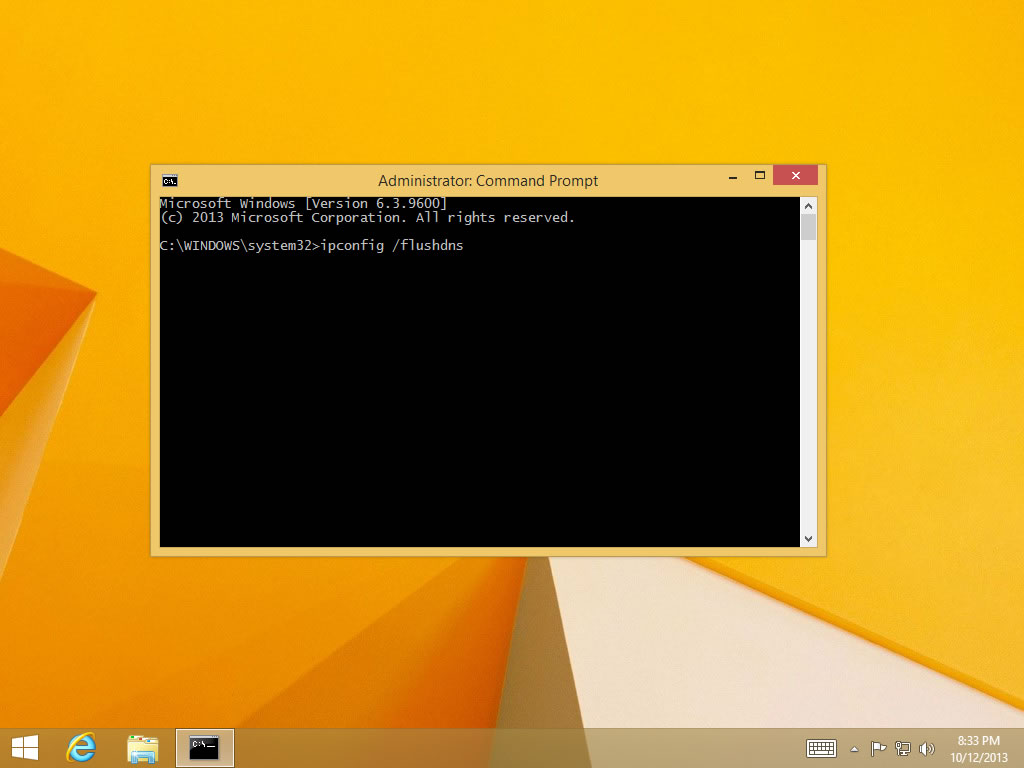
Windows 8 / Windows 8.1 Flush DNS
Flushing the DNS cache on Windows 8 and Windows 8.1 is a very easy process. Due to system security permissions, you must ensure that you run the command prompt as an administrator user.
- Ensure that you're on the Windows 8 Start Screen.
- Simply type
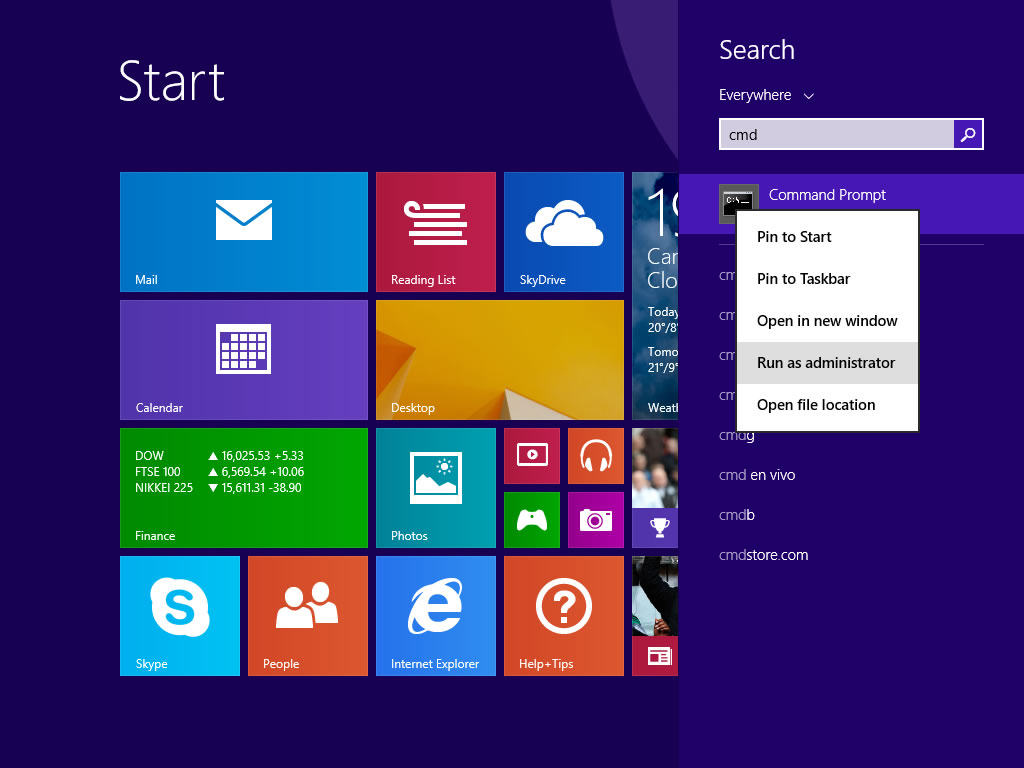
cmdand the Windows search bar will appear on the right hand side with search results. - Right click on
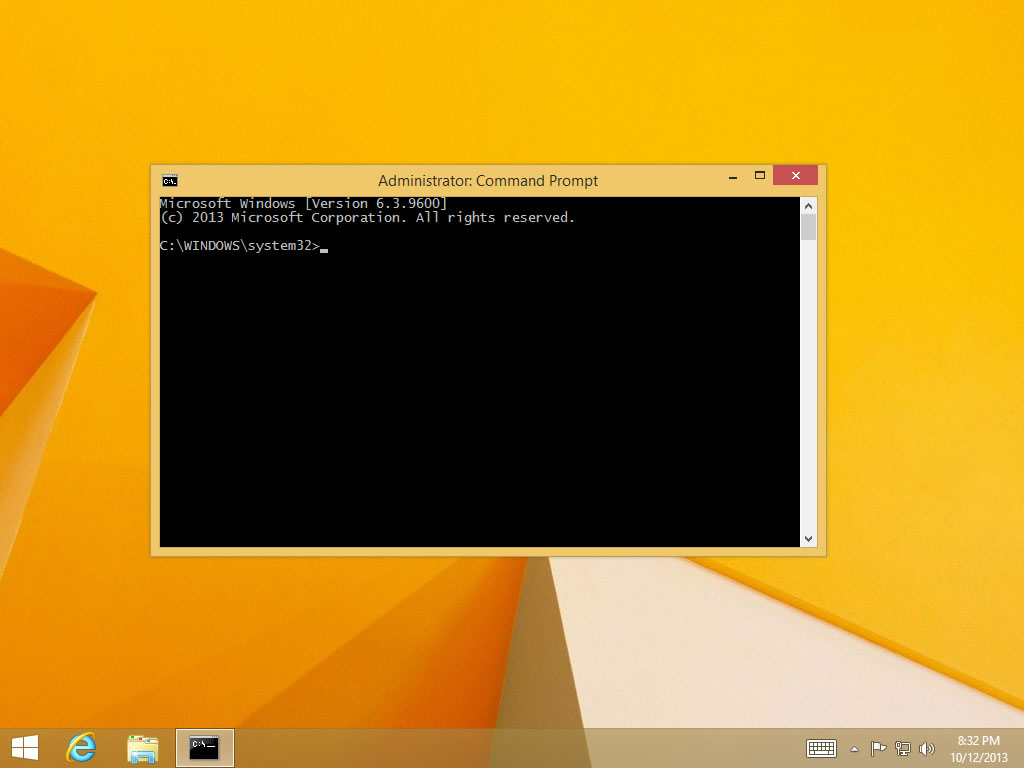
Command Promptand clickRun as administrator. - Type in the command
ipconfig /flushdns